
When you sign up for new tools and products, it's always hard to keep up with how things work. Maybe you've done it because you liked the design of the website, or how the brand communicates with you, but you haven't really had time to dig into them. That's okay, we know how it is sometimes, and we've all been there before. But that's why we're here for you 🤗 so you understand how Crema works - so you can make the most of the benefits!
The first step, as in every online platform, is to register with your complete data until you finish the onboarding with which we introduce you. Once you enter your Dashboard you will be able to see everything Crema offers you! In the top menu you can access your Gigs list, your Wallet, your referral code (which gives you 25USD, and him 10USD, every time a friend of yours uses it 😉) and the Help button. In this last button you can find a small tutorial on how our platform works in general, including the video that we attach at the end of this blog post. Now that you understand how your Dashboard works, let's move on to the fun part: creating Gigs.
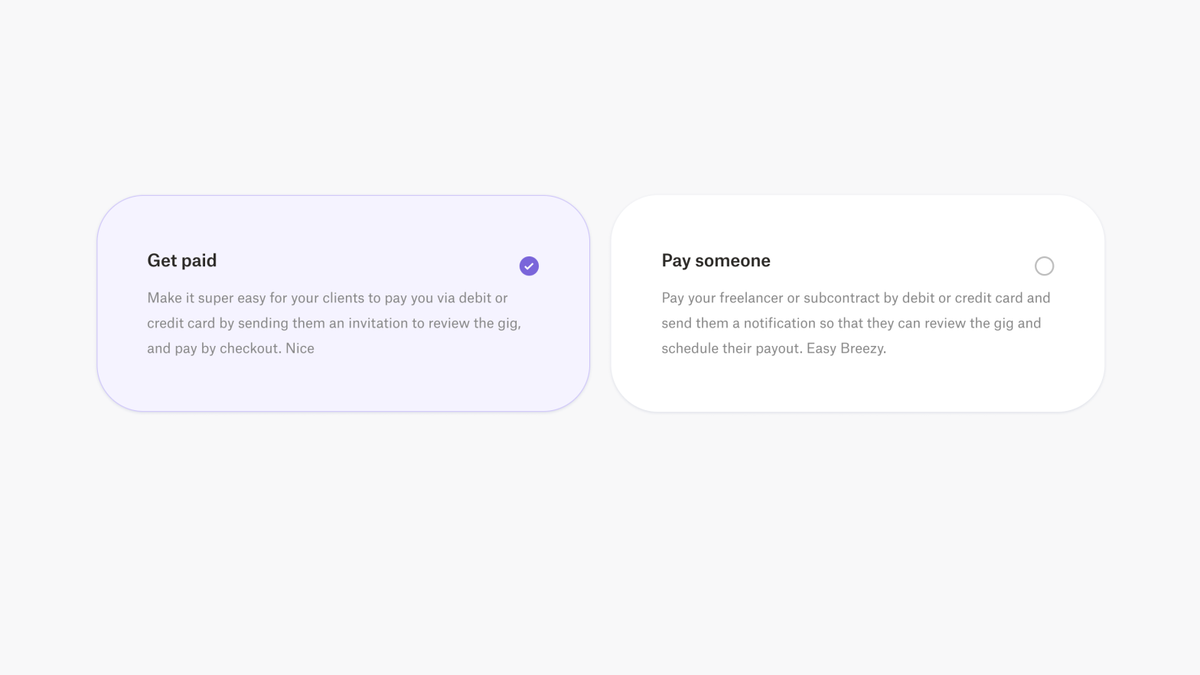
Start by clicking on "New Gig" (no problem, you don't really need to send it if you don't have a real one yet, but it doesn't hurt to practice 😉). To create a Gig you have to select between two options: Charge or Pay someone. Once you have decided on the action you will take in Crema, you must name it. For example, let's say "Logo design". So far so good? Awesome, let's move on 🚶.
Once you have the basic information about your Gig, you will have to describe it. What do I mean by this? Very easy: you have to define how many elements it is composed of, accompanied by a description of them 📋. Let's continue with the "Logo Design" example. If I need a font and an icon for it to be complete, I would have to write them down and describe them; so it would be something like this "Font with rounded edges and bold format. Icon symbolizing a dress". To finish this third step you will have to set the terms and conditions. Here you can decide how you want to work. For example, if there are changes in the Gig, how many? When is the delivery date? Are there any conditions you want to apply to your client? You know, the boring but very important things you need when working as a freelancer 🤷.
Now you will need to choose between payment options; it can be a Single, Multiple or Recurring Payment. A Single Payment is just as the name says, a single payment that is equivalent to the total Gig. The Multiple Payment are those that you schedule based on a payment schedule so that the client knows when and how much to pay. For example, in this case you could define that a 50% down payment is needed to start the project and it will be concluded with two payments of 25% each. And finally, the Recurring Payment is a form of subscription, in which you select the exact dates on which you automate your payments and the client is charged in the account of your selection. This type of subscription that features Recurring Payment is a great for freelancers who don't want to be chasing their clients for payments. It's just a matter of agreeing on dates and amounts, and having your client assign an account from which the withdrawal can be made.
Now comes the easiest step: Review and send your Gig. Once you have confirmed that your Gig is complete and correct, you will have the option to send the Gig link or send it by mail. If you decide to send it by mail, what happens at the back end is that your customer receives an email with a link to the Gig; they enter their email address (no need to create an account), enter their credit card information and that's it. It's as easy as that.
And if you ever get lost, you can always contact us via on-site chat or mail. We'll be here 💜.
Moving on, with Crema you can leave your money in your Wallet or withdraw it to your preferred account via Cash Out. Cash Out is basically a transfer of an amount of money between your Wallet and your preferred destination. With Crema you can withdraw your money to a bank account, PayPal or even crypto 😎. But before you start withdrawing your money, you have to verify your account. This is just to keep us all calm and confident that the transactions created on Crema are honest, so you have nothing to worry about. Once you have been verified, all you have to do is enter the amount you wish to withdraw, choose the destination and enter the destination information. So easy that it seems unbelievable, but it's not 😇. The Cash Out should take between 24 and 72 hours to reach your account, if it takes more than that you can contact us through the on-site chat or by mail; we will support you 😍.
Finally all that's left is to enjoy the benefits of being a freelancer and use Crema to collect or pay. It's a real wonder what someone like you can do with all your free time because you don't have to chase payments and don't have to deal with high commissions. Remember that Crema only charges 2% for each transaction, that's nothing! Other payment platforms charge between 6% and 10%, which is a lot for a freelancer; that's why we created Crema with you in mind.
Start today on Crema and enjoy it! Remember that you have a referral code that you can access in your Dashboard and share it with everyone. When your friends use it and collect a minimum of 200USD in a Gig, we'll give you $25 to you and $10 to him 💜 It's a win-win for everyone!